Ask Your Question
1

Generate custom opencv .so for Android [Windows 10] [Solved]

asked 2019-10-23 08:14:12 -0600

MauroNRa gravatar image

updated 2019-10-29 16:16:57 -0600

Hello, I recently started using opencv for Android in a project, however I need to reduce apk size, and so i found install-opencv-on-android-tiny-and-optimized

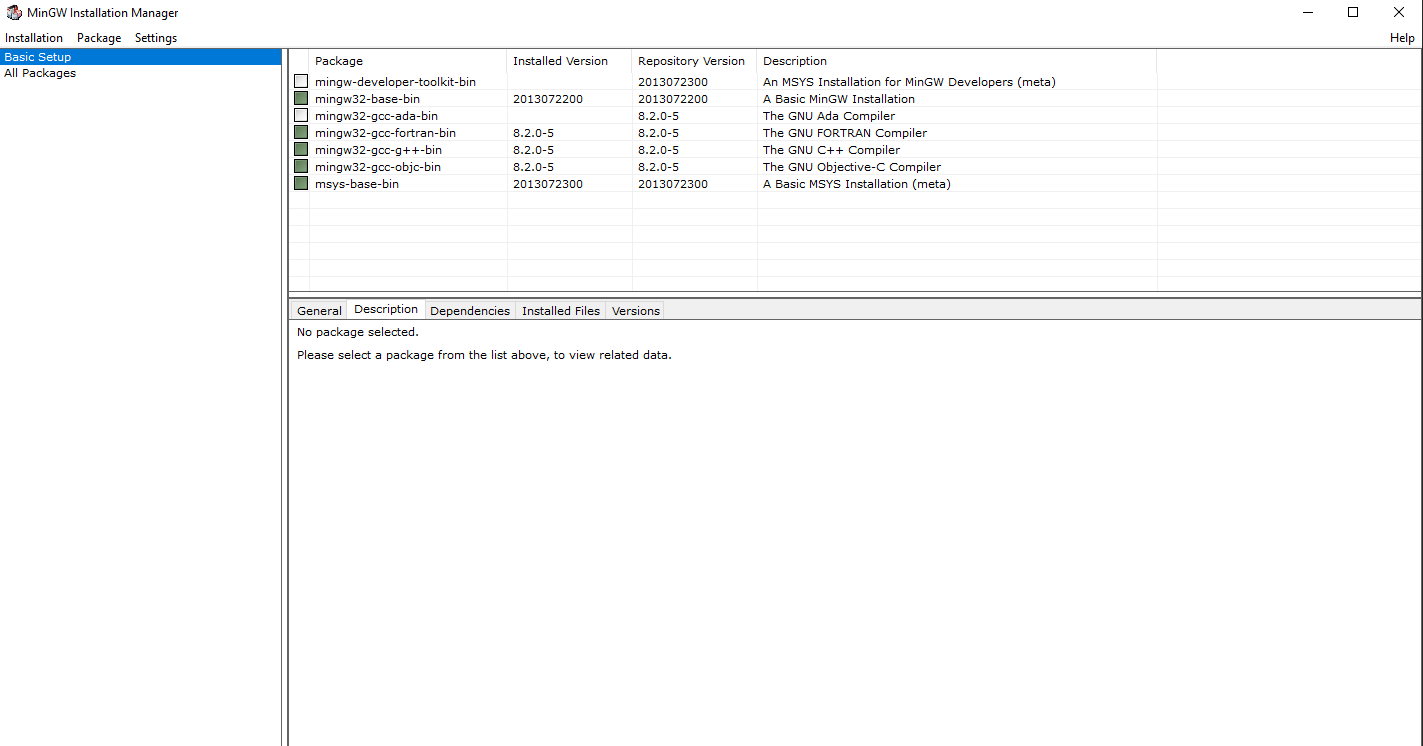
Apparently is possible to generate the opencv.so files with fewer modules, like core and imgproc in the example above, which is just what I need, but i don't know how to do all that since I'm in Windows 10.

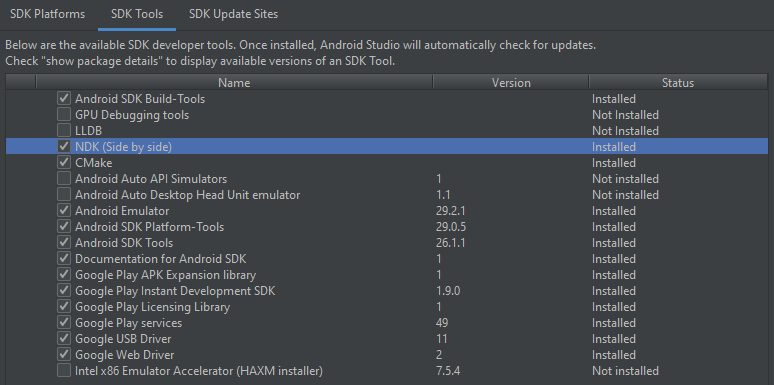
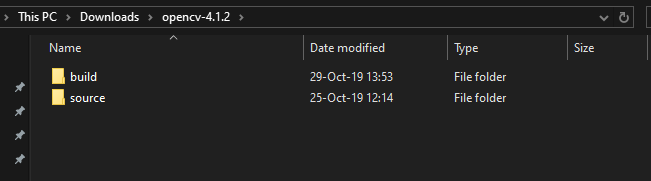
Can I use the the opencv 4.1.2 (Which is the version I'm using in my project)? Can I use the latest Android NDK? Can I compile against the latest Android API (29 currently) ?

If someone could point me in the right direction it would be really great.

UPDATE 29/10/19:

I've successfully generated my custom opencv .so look down below to check what I did.

edit retag flag offensive close merge delete

3 answers

Sort by ยป oldest newest most voted
1

answered 2019-10-29 18:09:42 -0600

MauroNRa gravatar image

updated 2019-10-30 12:35:30 -0600

Following mvuori's suggestion I checked the flags used in my compilation and could finally achieve after 4 days the result I wanted to, the step by step solution is as follows.

First, make sure you have the following software:

  • Java JDK 8+ is required, you can use other versions but be careful and check compatibility with gradle since you will need it later (e. g. currently gradle 5 has no compatibilty with java 13 and it is expected to ship with gradle 6).

  • Android SDK

  • Android NDK (I used ver 20.0.5594570)

You can download both of them via the Android Studio SDK Manager, in the latest versions of AS (3.5+) it seems the ndk packaging changed so just check where it says NDK (Side by side)

image description

  • Apache ant 1.10.7

  • MinGW Install and Make sure you have the following cheked:

image description

  • CMake The CMake GUI is really useful in windows so I higly recommend to use it (I used version 3.16.0-rc2)

  • Python I used version 3.8.0 (Remember to check in the installer just before finishing to create the environment variables for you!)

Once you have all that installed remember to set up the environment variables for each one of those + your java configuration:

  • Android:

image description

  • Ant:

image description

  • Java:

image description

image description

  • Path:

image description

Get the Open CV sources you want to build, I advise you to set them up like:

image description

The build folder will be where the files for generation will be, so for now just create and empty folder.

You don't need to modify any file in the sources folder however, depending on you java version and the gradle version present in sources you might have to, for exampl, as I had Java 11 and fon OpenCV release 4.1.2 the gradle wrapper version is 4.6 you wil get an error when you try to get the folders to the install folder so just go to:

..\YOUR OPEN CV VERSION\source\platforms\android\gradle-wrapper\gradle\wrapper\gradle-wrapper.properties

And use a version compatible with your java set up, in my case I used 5.4.1 instead of 4.6

image description

Now, open the CMake GUI and begin set up:

image description

I recommend to check this, it will allow you to sort out the flags in a better way:

image description

Add the following entries:

  • ANDROID_NDK = The path to your NDK
  • ANDROID_SDK_ROOT = The path to your SDK
  • ANDROID_NATIVE_API_LEVEL = Whatever Min API you want, I used 17, but default is 21
  • ANT_EXECUTABLE = Your path towards the ant.bat file located in the ../ant/bin/ folder
  • ANDROID_STL = By default this value is c++_static however the default opencv android sdk ships with c++_shared so I use the same
  • ANDROID_ABI = By default it will build armeabi-v7a, so you only need yo change it to repeat this process for arm64-v8a, x86 and x86-64 (Also you can use armeabi-v7a with NEON to improve FP performance)

Don't worry about the red here.

image description

With all that done press configure, and select as follows ... (more)

edit flag offensive delete link more

Comments

in my case last step is not executing git-bash is giving error : mingw32-make: * No targets specified and no makefile found. Stop. Please help

rajkumar16254 gravatar imagerajkumar16254 ( 2020-07-29 14:56:17 -0600 )edit

please respond

rajkumar16254 gravatar imagerajkumar16254 ( 2020-08-12 04:17:21 -0600 )edit
0

answered 2019-10-25 03:16:54 -0600

mvuori gravatar image

The web is full of general instructions for building OpenCV in Windows and if you can figure that out, you need to modify the Cmake script involved and add the modules in BUILD_LIST as below

cmake .. -DCMAKE_TOOLCHAIN_FILE=~/android_ndk/android-ndk-r19/build/cmake/android.toolchain.cmake -DANDROID_NDK=~/android_ndk/android-ndk-r19 -DANDROID_NATIVE_API_LEVEL=android-21 -DBUILD_JAVA=OFF -DBUILD_ANDROID_EXAMPLES=OFF -DBUILD_ANDROID_PROJECTS=OFF -DANDROID_STL=c++_shared -DBUILD_SHARED_LIBS=ON -DCMAKE_INSTALL_PREFIX:PATH=~/opencv/android_build/out -DANDROID_ABI=arm64-v8a -DBUILD_LIST=core,features2d,flann,imgcodecs,imgproc,stitching,objdetect,photo,java4

There may be some specifics, which I don't know, as I have done this in Linux. The API level you use should be the lowest your app supports - the app defines the real target.

As for NDK, I don't see why the latest wouldn't work. Personally, I used 19c, as Qt required that.

edit flag offensive delete link more

Comments

I've updated my question, thanks to your suggestion and some of your configuration flags I've managed to advande greatly, I feel like I'm quite close

MauroNRa gravatar imageMauroNRa ( 2019-10-25 19:19:50 -0600 )edit
0

answered 2020-09-23 05:12:51 -0600

LelloV gravatar image

Thanks for nice guide I has been able to get .so files of all specified in BUILD_LIST. How to do to get all files linked in one .so like libopencv_java3.so ?

edit flag offensive delete link more

Question Tools

1 follower

Stats

Asked: 2019-10-23 08:14:12 -0600

Seen: 2,774 times

Last updated: Oct 30 '19