How to skeletonize an image after adaptive gaussian thresholding
Hi,
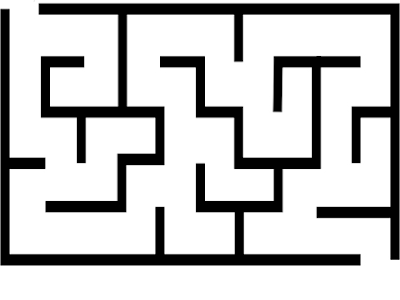
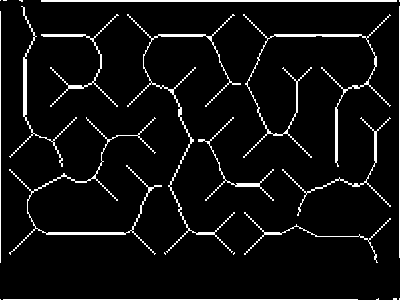
I would like to skeletonize an image after applying adaptive gaussian threshold. I have searched "How to skeletonize an image" and I have found a solution in this link. However, this solution is applying global threshold on an image. I want to apply adaptive gaussian threshold and after that, I want to get skeletonized image. Is there a solution, link or an article about my question?
Here is my EDITTED code;
import cv2
import numpy as np
from matplotlib import pyplot as plt

image = cv2.imread('maze.png')
plt.hist(image.ravel(),256,[0,256]); plt.show()
img_gray = cv2.cvtColor(image, cv2.COLOR_BGR2GRAY)
img_gray_histeq = cv2.equalizeHist(img_gray)

size = np.size(img_gray_histeq)
skel = np.zeros(img_gray_histeq.shape,np.uint8)

binarized_image = cv2.adaptiveThreshold(img_gray_histeq,255,cv2.ADAPTIVE_THRESH_GAUSSIAN_C,\
            cv2.THRESH_BINARY,11,2)

element = cv2.getStructuringElement(cv2.MORPH_CROSS,(3,3))
done = False

while( not done):
    eroded = cv2.erode(binarized_image,element)
    temp1 = cv2.dilate(eroded,element)
    temp2 = cv2.subtract(binarized_image,temp1)
    skel = cv2.bitwise_or(skel,temp2)
    img = eroded.copy()

    zeros = size - cv2.countNonZero(binarized_image)
    if zeros==size:
        done = True

"""
PLOTS
"""
cv2.imshow('Gray Scale Image', img_gray)
cv2.imshow('Histogram Equalized Image', img_gray_histeq)
cv2.imshow('Binarized Image', binarized_image)
cv2.imshow("skel",skel)

cv2.waitKey(0)
cv2.destroyAllWindows()
Best regards, Ender.


the post, you're refering to is from 2012. ....
opencv has a builtin thinning function (in opencv_contrib) now
and anyway, you need a binarized input ,no matter how you achieve that.
Yes, you are right. However, I could not apply skeletonization on adaptive thresholded image. here is my code for adaptive threshold. How can I apply skeletonization on it ?
please put that code into your question.
why so ? you probably need to explain that. we also do not know, what kind of image you're working with.
My image is originally an RGB image. I have converted it into gray scale image. According to the this link I have editted my code in the question. You may want to see.