This forum is disabled, please visit https://forum.opencv.org
 | 1 | initial version |
this example program demonstrates using watershed
but you need some preprocessing like below ( add this piece of code to imageSegmentation.cpp line 26)
Mat img_gray;
cvtColor(src, img_gray, cv::COLOR_BGR2HSV);

Mat hsv[3];
split(img_gray, hsv);

img_gray = hsv[2] + hsv[1];
imshow("img_gray", img_gray);
src.setTo(Scalar(0, 0, 0), ~img_gray);
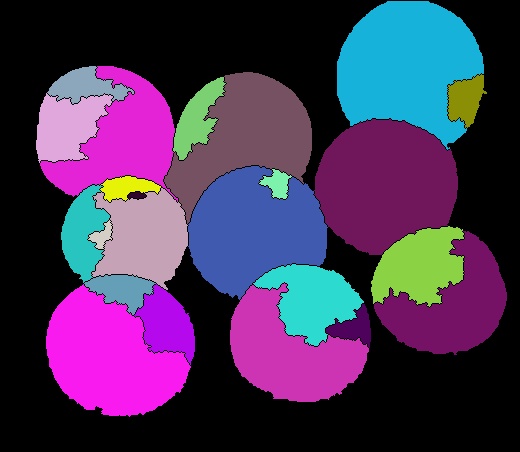
you will finally get the image below

 | 2 | No.2 Revision |
this example program demonstrates using watershed
but you need some preprocessing like below ( add this piece of code to imageSegmentation.cpp line 26)
Mat img_gray;
cvtColor(src, img_gray, cv::COLOR_BGR2HSV);

Mat hsv[3];
split(img_gray, hsv);

img_gray = hsv[2] + hsv[1];
imshow("img_gray", img_gray);
src.setTo(Scalar(0, 0, 0), ~img_gray);
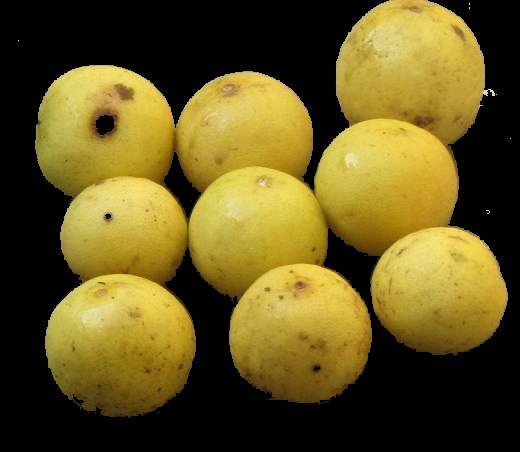
this step will give you the image below

and you will finally get the image below

 | 3 | No.3 Revision |
this example program demonstrates using watershed
but you need some preprocessing like below ( add this piece of code to imageSegmentation.cpp line 26)
Mat img_gray;
cvtColor(src, img_gray, cv::COLOR_BGR2HSV);

Mat hsv[3];
split(img_gray, hsv);

img_gray = hsv[2] + hsv[1];
imshow("img_gray", img_gray);
src.setTo(Scalar(0, 0, 0), ~img_gray);
    // ( this code is suitable for bright objects on gray background )
this step will give you the image below

and you will finally get the image belowbelow.
