How to create OpenCV morphology filter Android in ADT/Eclipse ?
I 've made an application that can be gained by means of capturing image and choose from the gallery .
- Furthermore then stored in a variable of type bitmap data , the following is source code snippet :
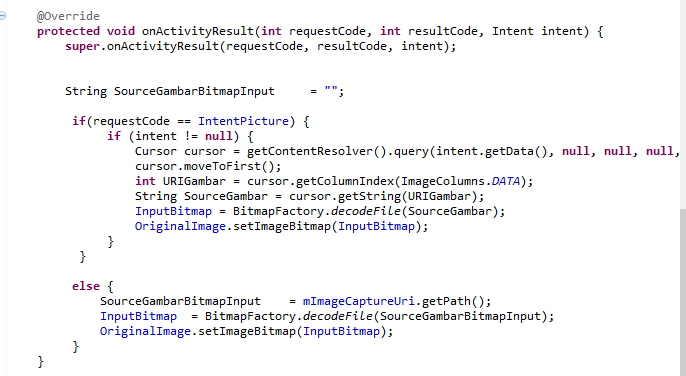
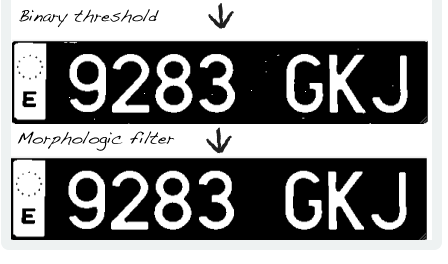
- Then I want to do image processing on the image , the image processing I wanted was morphology filter, which before effect there are some white dots on the license plates, then after effect white dots disappear, so that only display main objects, that is number of license plate as shown in the following picture :
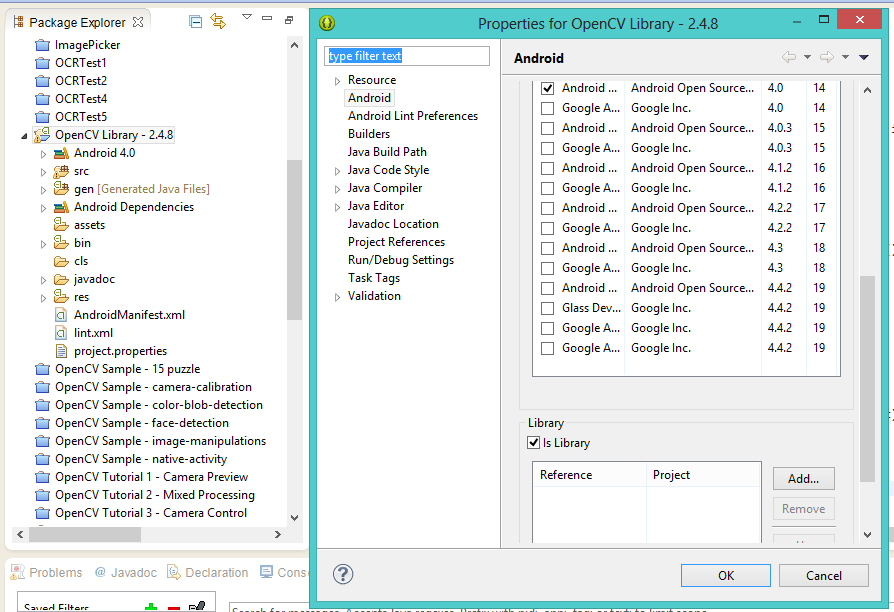
- I 've imported the OpenCV library version 2.4.8 , the result in the image below :
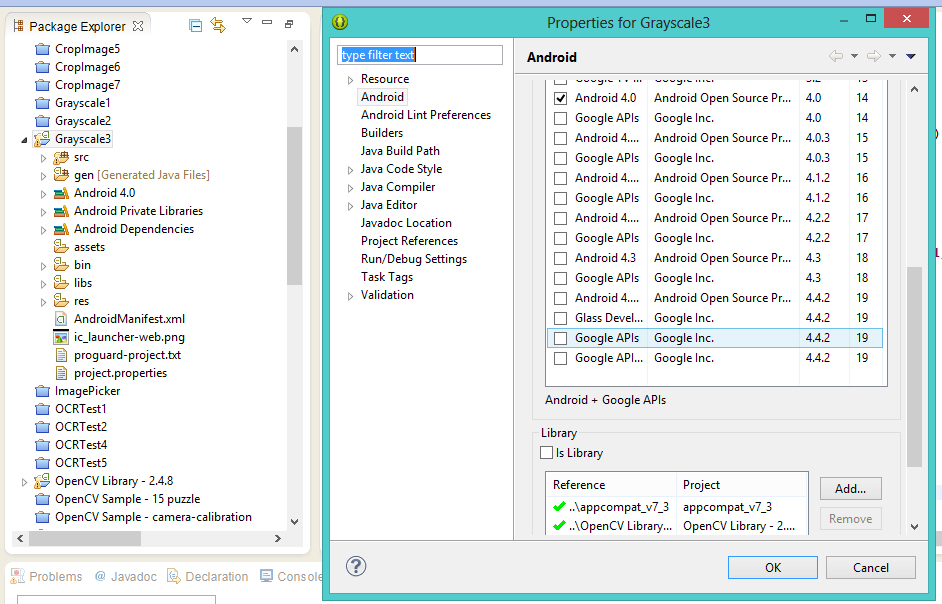
- I 've also set my project will reference to the OpenCV library which I had previously imported . As follows:
The problem that I am facing is as follows :
What I'm confused is how to write the function morphology into my Android application , I have absolutely no idea and confused , had a few days I was looking on the internet but no one gives a clear and detailed explanation
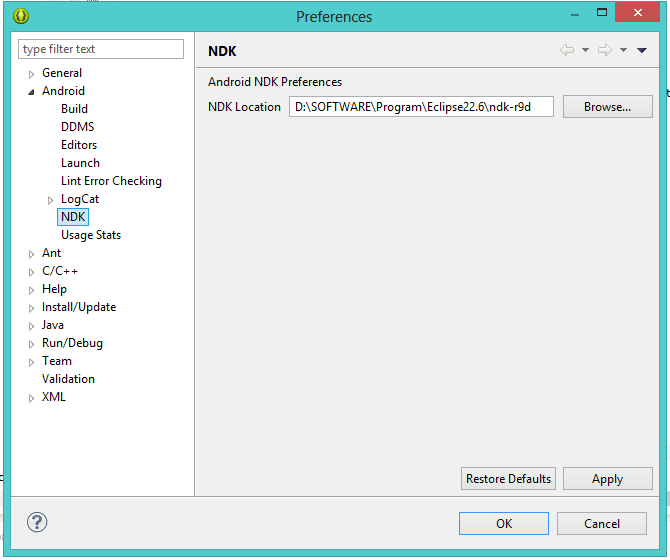
What if I export the application to the data type . Apk , whether the application will be running smoothly , I read some articles, that can be used for library OpenCV on Android devices must first be processed using the Android NDK , I also had to download version r9d latest Android NDK , I also had to set the editor ADT , as shown below :
From the above discussion , I asked for help from the forum members to take the time to help me resolve this problem . I actually asked for help , I would be really happy if someone helps me , thank you very much ! ! !
To learn more, here is my full source code :
package com.example.threshold5;

import java.io.File;

import org.opencv.android.Utils;
import org.opencv.core.Mat;
import org.opencv.core.Size;
import org.opencv.highgui.Highgui;
import org.opencv.imgproc.Imgproc;

import android.net.Uri;
import android.os.Bundle;
import android.os.Environment;
import android.provider.MediaStore;
import android.provider.MediaStore.Images.ImageColumns;
import android.app.Activity;
import android.content.Intent;
import android.database.Cursor;
import android.graphics.Bitmap;
import android.graphics.BitmapFactory;
import android.graphics.Canvas;
import android.graphics.Color;
import android.graphics.ColorMatrix;
import android.graphics.ColorMatrixColorFilter;
import android.graphics.Paint;
import android.graphics.drawable.BitmapDrawable;
import android.util.Log;
import android.view.View;
import android.widget.Button;
import android.widget.ImageView;

public class MainActivity extends Activity {

    protected static final String SourceGambar = null;
    Bitmap InputBitmap = null;
    ImageView OriginalImage;
    ImageView OutputImage;
    ImageView BinaryImage;
    Button ButtonMorphology;
    Button ButtonSelect;
    Button ButtonCapture;

    private int IntentPicture = 1;
    private int IntentCamera = 2;

    private Uri mImageCaptureUri;
    private ImageView mImageView;

    @Override
    protected void onCreate(Bundle savedInstanceState) {
        super.onCreate(savedInstanceState);
        setContentView(R.layout.activity_main);

        OriginalImage =(ImageView) findViewById(R.id.image_original);
        OutputImage =(ImageView) findViewById(R.id.image_output);
        ButtonMorphology = (Button) findViewById(R.id.button_execute);
        ButtonSelect = (Button) findViewById(R.id.button_select);
        ButtonCapture = (Button) findViewById(R.id.button_capture);

        ButtonSelect.setOnClickListener(new View.OnClickListener() {
            @Override
           public void onClick(View v) {
               Intent ImagePickerIntent = new Intent(Intent.ACTION_PICK ...