Compiling/Installing from source -- python import cv2 module could not be found
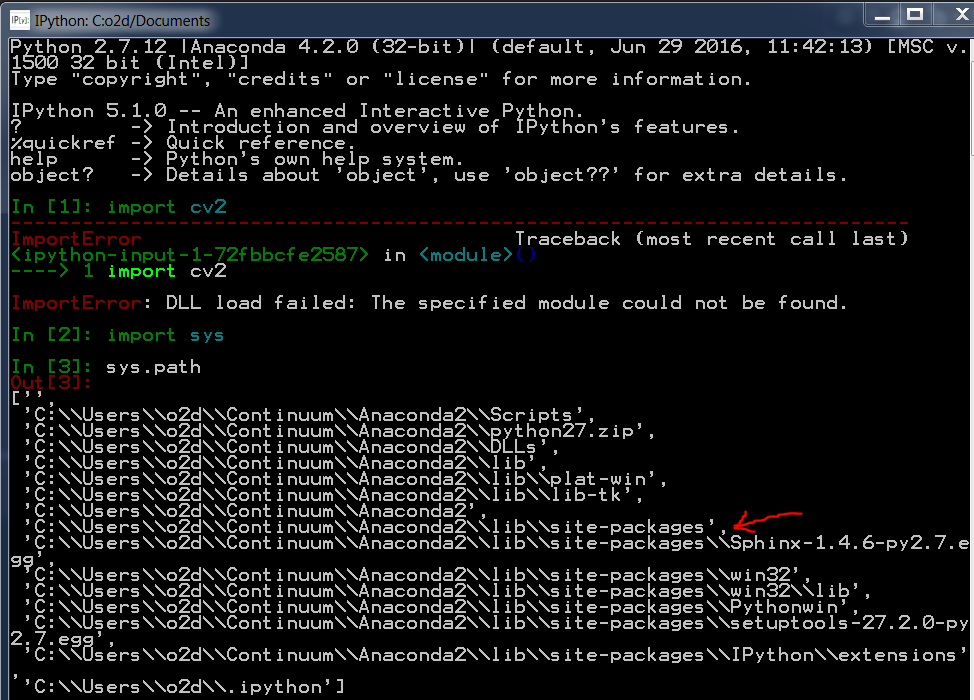
I'm receiving the error "ImportError: DLL load failed: The specified module could not be found." when I type "import cv2" in python (2.7 32 bit). Typing sys.path reveals .../Anaconda2/lib/site-packages is on the path and the file cv2.pyd exists in this directory.
After poking around online I see many people talking about cv2.so not cv2.pyd (but it's not clear to me that this isn't just an operating system difference since they're all running some flavor of linux). When I perform a search of anaconda sub-directories no cv2.so exists. When I search the opencv build folder, again no cv2.so. Where did I go wrong? How can I get python to find opencv?
EIDT: It appears the .so file extension is indeed just due to different operating systems. In this thread Andrew explains "An .so file is a compiled library file. It stands for "Shared Object" and is analogous to a Windows DLL." In the error given by python it appears as though it's looking for a .DLL file. So this sounds like the sample type of file just for different OS. Further digging indicates that a .pyd file (which I have) is essentially a .DLL file. This information can be found here. So why is python not finding it? Is it expecting a .DLL file extension instead of .pyd?
Background: Windows 7 Enterprise SP1 64 bit
I started by uninstalling all previous flavors of python, then downloading and installing Anaconda 4.2.0 -- python 2.7 (32 bit)
Then I downloaded opencv and the additional contrib packages
Following instructions from the opencv website I downloaded Microsoft Visual Studio 2015 and cmake.
Created a directory "C:\OpenCV\Build" and ran cmake from within a Cygwin terminal (inside the Build directory) with the command "cmake -DOPENCV_EXTRA_MODULES_PATH=C:\OpenCV\opencv_contrib-master\modules C:\OpenCV\opencv-master". This appeared to work fine and produced a bunch of files and folders in the build directory including one called "OpenCV.sln". NOTE: This step is slightly different than the cmake-gui install instructions I was following here. I got this alternate command line build instructions from the opencv_contrib download page.
I opened OpenCV.sln with Visual Studio, switched the build mode from "debug" to "release", selected "ALL_BUILD" under "CMakeTargets" and ran Build>Build ALL_BUILD (from the drop down Build menu at the top). This also seemed to work fine and produced no errors.

Finally, I selected "INSTALL" under "CMakeTargets" and ran Build>Build INSTALL. Again, no errors that I could tell.
This is the last step of the install instructions according to the opencv website. However, import cv2 from python still produces the import error.
@berak Thanks for the quick response! I built the INSTALL project (not the ALL_BUILD again, as I originally posted). What file extensions am I looking for to signify that those are python wrappers?